Biscoff Banana Muffins

What’s this? A new recipe? Can you believe your eyes?!

Yeah, here I am again. I have definitely fallen off the blogging train – if I’m honest, I just don’t have as many ideas for recipes as I used to. I think I have used them all up! Plus, it’s been nice cooking other people’s food this past year, not making my own up and writing it and photographing it.

But this week I had a few ingredients hanging around the kitchen, and I thought…why not write it all down? So, here you go.

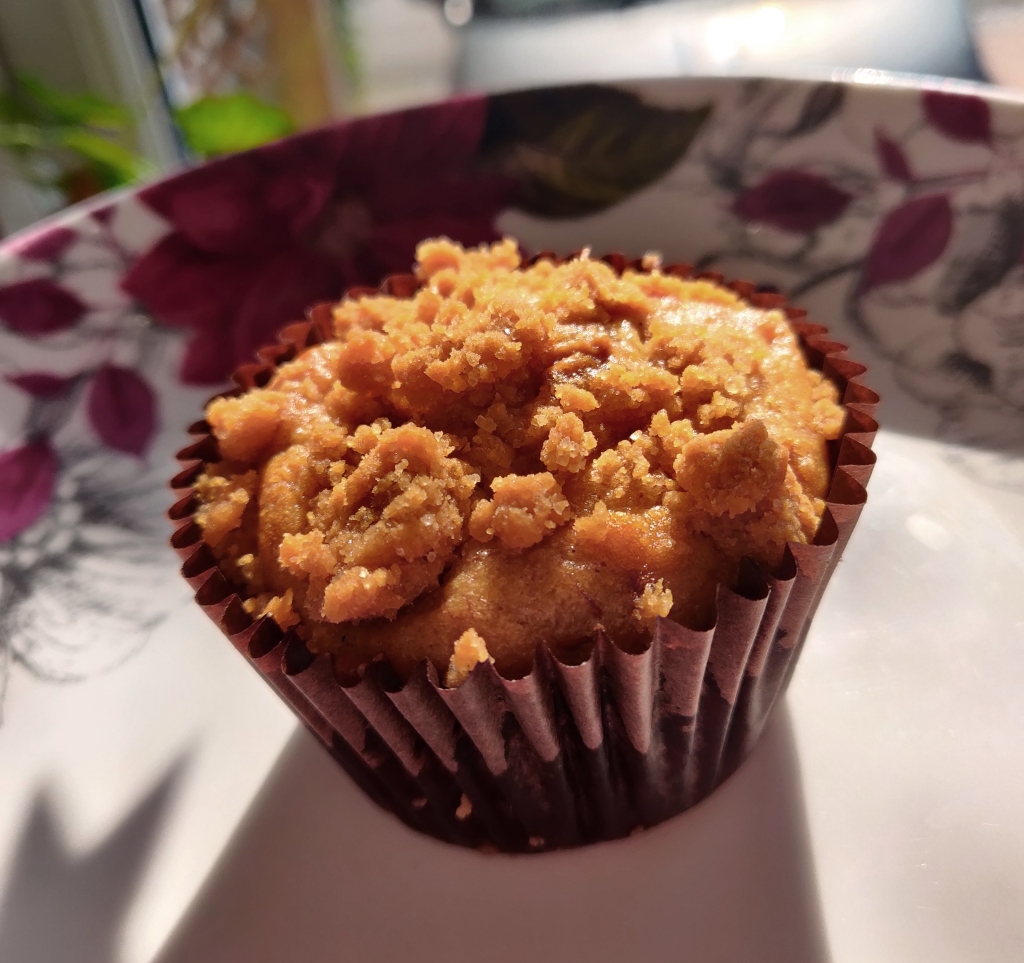
These muffins are banana, but with a hidden filling (though the crumb on top gives it a way a bit!). They’re based on my chocolate crumbed banana muffin recipe but instead of chocolate, we use the magical biscoff spread. This may be sold as “speculoos” in your country, or even “cookie spread”. Go for the smooth variety for this recipe!

They’re pretty simple to make – as with all muffin recipes, you don’t want to overmix them, so use your hands and a spoon rather than your mixer. And, the recipe only makes six muffins, because I had only got two bananas – but feel free to double it to make twelve!

Biscoff Banana Muffins


Ingredients


– 2 very ripe bananas
– 50ml sunflower (or other neutral) oil
– 2 tbsp milk of choice (I used soy)
– 1 tsp apple cider vinegar
– 60g brown sugar
– 1 tsp vanilla extract
– 1 tsp baking powder
– 0.5 tsp bicarbonate of soda
– 1 tsp cinnamon
– 150g plain flour
– approximately 6 heaped teaspoons biscoff spread
for the crumb
– 2 tbsp biscoff spread
– 2 tbsp plain flour
– 2 tbsp granulated sugar

Directions


Preheat the oven to 175C/350F/Gas Mark 3
1. Begin by mashing the bananas in a large bowl until thoroughly mashed. You can use a fork or a potato masher for this!
2. Into the bananas, add the oil, milk, sugar, and vanilla, and mix well.
3. Sift in the flour, cinnamon, bicarbonate of soda, and baking powder.
4. Mix until just combined – don’t overmix!
5. Once mixed, scoop the batter into a lined muffin tin – fill each muffin case approximately half full. There should be leftover batter.
6. Add one heaped teaspoon of biscoff spread into the centre of each muffin case.
7. Fill the cases with the remaining muffin batter, they should end up about two thirds full.
8. Next, make the crumb. In a small bowl, add the biscoff spread, flour, and sugar, and rub together with your fingers until you get a sandy texture.
9. Generously sprinkle the crumb over the muffins in their cases.
10. Place the muffins – crumb and all – into your preheated oven, and bake for 20-25 minutes, until nicely golden brown.
11. Cool in the tin, and store in the refrigerator. 

Cheese and Onion Chickpeas – VeganMoFo Day 13

It’s funny, before I went vegan, cheese and onion crisps were my least favourite flavour. I think it was probably my as yet unknown dairy intolerance making itself known! Now, I like vegan cheese and onion flavoured things. For the “packaging free” day of VeganMoFo I made cheese and onion chickpeas – might sound a little odd, but trust me, they’re so good (and a lot easier than making your own potato crisps).

Roasting chickpeas is a great way to create an easy and tasty snack at home! You can flavour them in so many different ways, you’ll never get bored.

Cheese and Onion Chickpeas


Ingredients


– 1 can chickpeas, drained and rinsed
– 2 heaped tbsp nutritional yeast
– 1 tsp onion powder
– salt to taste
– 1 tbsp oil

Directions


Preheat the oven to 180C/355F
1. In a large bowl, mix all the ingredients together until well combined.
2. Spread onto a lined baking tray in one layer.
3. Place in the preheated oven for 30 minutes, until crisp and golden.
4. Eat hot, or leave to cool and have as a snack!

Quick and Simple: Vegan Kit-Kats!

Hello! Today’s post is just going to be a quick one because it’s not really a recipe – just a simple step-by-step guide I made on my phone today!

Something vegans can often miss is chocolate bars. Whilst you can buy imitations of popular non-vegan treats (Go-Max-Go bars are great!) they tend to be a lot more expensive than their non-vegan counterparts and that’s just no fun. So, I’ve come up with a quick little tutorial for making a cheap and easy vegan counterpart to an old favourite – the Kit Kat! This also ties in as a (second) post for VeganMoFo’s January “Something New” prompt.

kitkat5

The hardest part of this recipe probably will be finding the wafers to go in the middle. Unfortunately I can only speak for my UK vegans, but in Home Bargains stores around the country, they have had vegan chocolate wafer packs for sale for the last couple of months – at a bargain price of 39p a pack!

kitkat1

Please excuse my chocolatey fingers in the above photo. These are the wafers you want to buy. I’m not sure where else you can get them, but if you are near a Home Bargains pick up several packets because they’re lovely!

Now, let’s start to make our chocolate bars!

kitkat2.jpg

Step 1: Break the wafers into individual bars. Do this over a plate because they can crumble a little.

kitkat3

Step 2: Melt some chocolate. I use Lidl Dark Chocolate – it’s only 30p for a 100g bar and is vegan and tasty! Use 3 bars for 1 pack of wafers. Break them up and put them in a bowl, then put that in the microwave for 30 seconds at a time, stirring afterwards, and repeating till it’s all melted. Drop in a wafer biscuit.

kitkat4

Step 3: Turn the wafer around gently in the chocolate with a fork until all the sides are covered. Lift it out of the bowl on the fork, and hold for a few seconds to allow excess chocolate to drip off. Place on a tray lined with non-stick baking paper.

kitkat6

Step 4: Place in the fridge until fully set! Leave it a couple of hours, then check to see if they’re set. Store in the fridge until you want to eat them.

I hope you enjoyed this small post! I apologise for the phone photos, but since this is such a quick and simple thing to make, the photos match!


Hot Chocolate Cupcakes with Toasted Marshmallow Topping

Do you remember MiniMoFo from the run up to the VeganMoFo? It was a series of challenges that took place before the main month, and I posted Apple Crumble Bars and Red Pepper & Thyme Rolls (plus an extra post on my Instagram!). Well, it’s back! There’s a new MiniMoFo challenge for December, and the prompt is ‘Hot Cocoa‘, which is lovely and wintery.

It’s no secret that I do love hot chocolate. Curling up with a good book and a cup of hot chocolate is a perfect way to relax, and I love finding different ways to spruce up my hot chocolate – adding cinnamon and a pinch of cayenne gives it some lovely heat, adding a spoonful of Biscoff spread makes it gooey and spiced, a drop of orange esscence for an orange hot chocolate…and so on. If you can get hold of vegan marshmallows, even better!

However, for this prompt I wanted to go further, and not make just hot chocolate, but baked hot chocolate. In the form of cupcakes.

cupcakes2

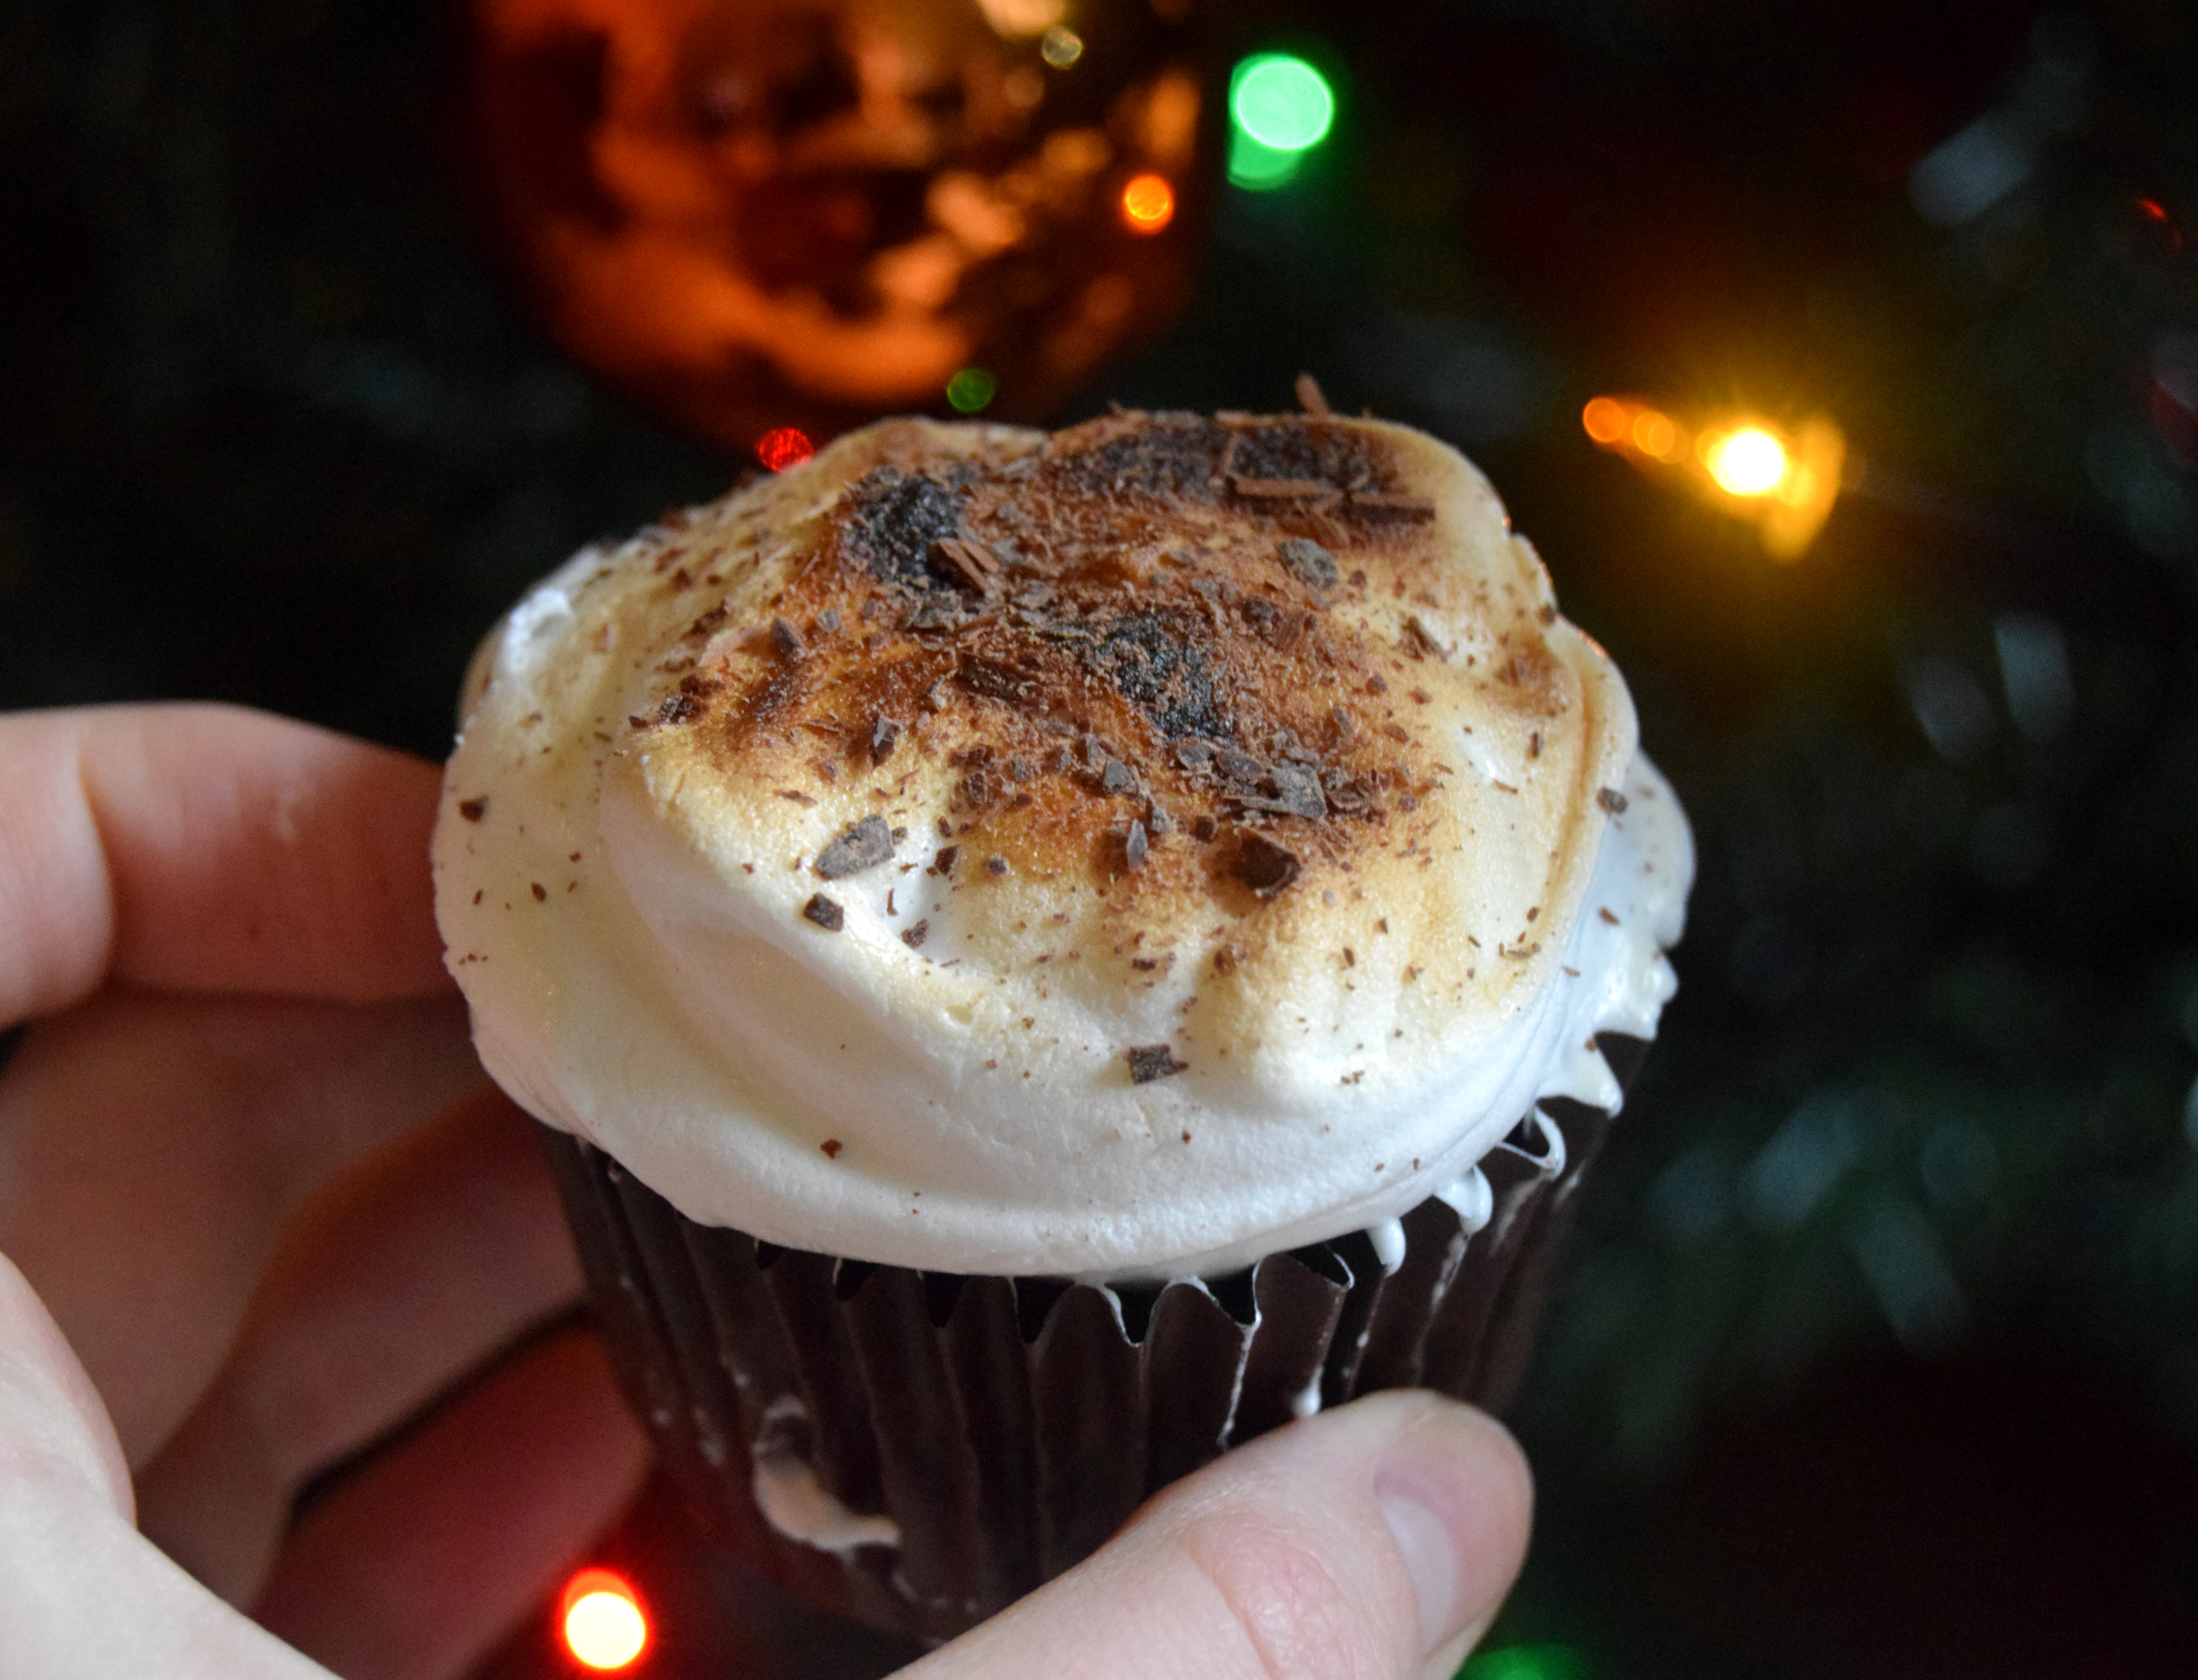
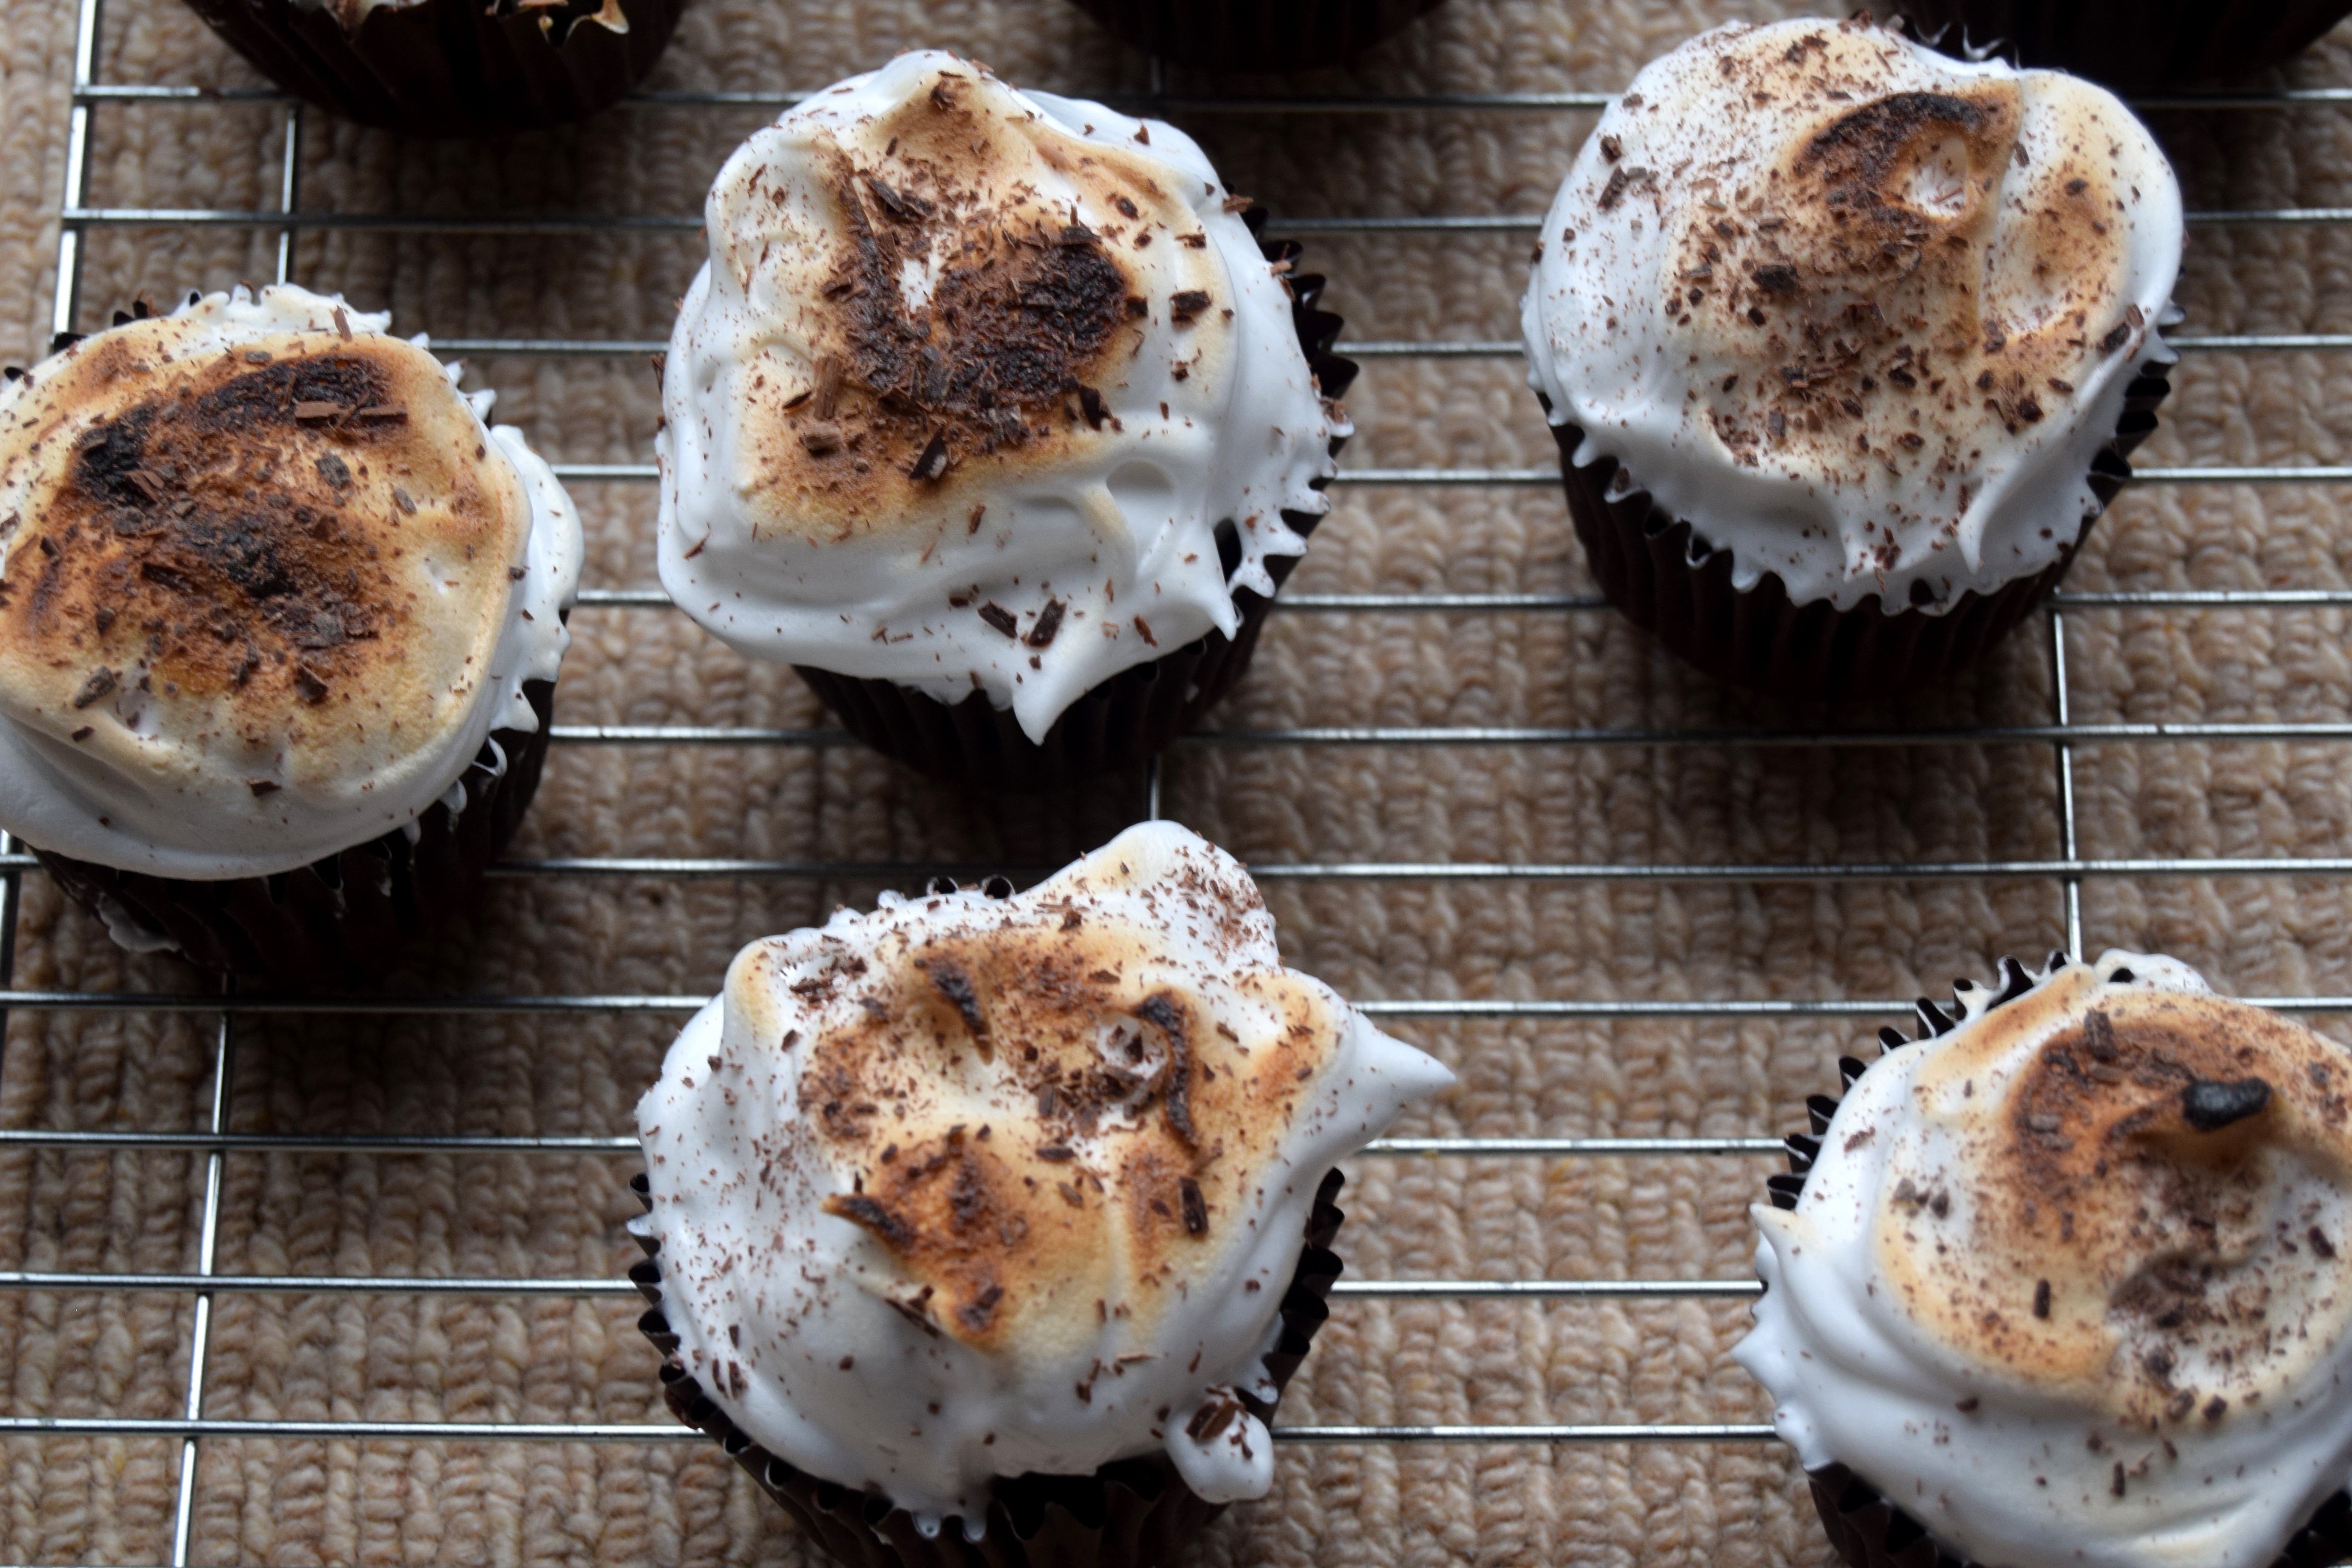
I present to you, Hot Chocolate Cupcakes…with Toasted Marshmallow Topping. Please excuse the slight messiness in the photos – I managed to get marshmallow topping everywhere!

And yes, that is all-vegan toasted marshmallow fluff on top. How amazing is that?

cupcakes5

The cupcakes themselves have three layers of chocolate – they’re made with cocoa, chocolate milk, and melted dark chocolate. This makes them super rich and chocolatey – perfect to emulate a hot chocolate drink!

cupcakes6

See that picture above? Look at the fluffy, glossy marshmallow fluff! What’s the secret? Well, it’s aquafaba. I’ve used aquafaba before – most recently in my Brookies recipe, where it’s used as an egg substitute, but I haven’t posted about it whipped like this before.

Aquafaba is the liquid from a can of beans – usually chickpeas. Drain the chickpeas through a sieve, catching the water in a large, clean, bowl. Put the chickpeas aside – use them in pasta, or soup, or however you like. You don’t need them for this. Into the liquid, add a quarter spoonful of cream of tartar – this is often used in meringues to help stabilise the mixture – and some vanilla extract. For the next step, you need to whip the liquid up. I use an electric hand mixer, but other people use a stand mixer with great results. You whip the liquid for quite a while – 10 minutes maybe – until it forms “stiff peaks”, which, if you’ve never made meringue before, is when the foam stands up on it’s own without flopping over when you lift the mixer out. Classically, this is where you can hold the bowl upside-down over your head without it falling on top of you.

Once it gets to this point, you need to slowly add the sugar. For meringues, you use granulated sugar. For this marshmallow fluff, inspired by a recipe from Seitan Is My Motor, I use part powdered sugar and part caster sugar (superfine, in America). Add the powdered sugar, a spoonful at a time, whilst the mixer is running, until the mix turns glossy and all the sugar is gone. Finally, mix the caster sugar in a bowl with 1/2 tsp xanthan gum – this is what gives it the stretchy, marshmallow-fluff texture – and slowly spoon that into the whipped mixture. It’ll quickly go sticky and start climbing up your mixer but that’s ok! It means it’s getting the right texture.

This method is pretty amazing when you first try it. The small amount of liquid from one can of beans whips up into a huge bowlful, and really tastes like marshmallow fluff.

cupcakes1

Once the fluff and cupcakes are both made, you just spoon the fluff on top of the cupcakes, and then put them under the grill (or “broiler” for Americans) until they’re toasty brown (you could use a torch if you have one). Finally, I finished off with a sprinkling of grated chocolate just for that extra chocolatey touch!

Though this recipe sounds complicated – it really isn’t, and it’s fascinating to see the magic of aquafaba in work, and get a toasty marshmallow topping on your cupcakes. Give it a go!

Hot Chocolate Cupcakes with Toasted Marshmallow Topping

  • Servings: 15 cupcakes
  • Print

Ingredients

    For the Cupcakes
  • 400ml vegan chocolate milk (I used Alpro Dark Chocolate Almond Milk)
  • 1 tbsp cider vinegar
  • 310g plain flour
  • 50g cocoa powder
  • 1 tsp baking powder
  • 1/2 tsp bicarbonate of soda
  • 1/2 tsp salt
  • 90ml sunflower oil
  • 140g sugar
  • 1 tbsp vanilla extract
  • 100g vegan chocolate, broken into squares
  • For the Marshmallow Topping

  • 150ml Aquafaba (liquid from 1 can of chickpeas)
  • 1/4 tsp cream of tartar
  • 2 tsp vanilla extract
  • 100g icing sugar
  • 50g caster sugar
  • 1/2 tsp xanthan gum
  • Chocolate for grating on top of cupcakes (optional)

Directions

    Preheat the Oven to 170C/335F
  1. Start with the cupcakes! In a bowl, combine the chocolate milk and the vinegar and set aside so the milk can curdle.
  2. In a separate, large bowl, sift together the flour, cocoa, baking powder, bicarbonate, and salt.
  3. Into the milk, mix the oil, sugar, and vanilla. Whisk with a fork to combine.
  4. Slowly pour the wet ingredients into the dry, and mix to combine thoroughly.
  5. Melt the chocolate in a bowl either in the microwave or over a double-boiler, until completely melted. Mix this into the cake batter.
  6. Set out cupcake cases in a tray, and spoon the batter evenly amongst them.
  7. Place in the preheated oven for 20-25 minutes, until a knife inserted into the cupcake turns out clean. Set aside to cool thoroughly.
  8. Now, make the marshmallow fluff! Place the aquafaba in a large, very clean bowl.
  9. To the aquafaba, add the vanilla extract and cream of tartar.
  10. Whisk the aquafaba with an electric mixer until it forms stiff peaks – up to ten minutes.
  11. Now, with the mixer running, add the icing sugar a spoonful at a time, allowing it to combine.
  12. Once the icing sugar is all added, combine the caster sugar and xanthan gum in a small bowl. Add this a spoonful at a time to the fluff mixture.
  13. Once it’s all combined, your fluff is done! Place spoonfuls on top of each cupcake (you will have excess fluff leftover).
  14. Preheat your grill (or broiler if you’re American), and then place cupcakes underneath it, keeping a close eye on them, until the tops are browned and toasted.
  15. Finally, grate a small amount of chocolate over the cupcakes.
  16. Store in an airtight container.

Thanks to Seitan Is My Motor for recipe inspo for the marshmallow fluff!


Beetroot and Black Bean Burgers – VeganMoFo Day 19

Today’s prompt is Goth Day which is a really interesting prompt! When I was a teenager I quite fancied myself a goth but thankfully there is not really any (much) photographic evidence of that. I was not a very good goth.

These burgers, however, are good goths! Coloured deep purple with beetroot with flecks of black from the beans, their colours meld well with today’s theme. I served them in burger cobs, but if you wanted to serve them on black rice or any similarly gothic-looking base, you would be most welcome!

beetburger1

I also put a red chilli in these burgers for some added spice but it wasn’t very spicy – if you want it to have a big kick, add even more chillies! The more the merrier, or should I say the more the miserable-r, considering today’s theme?

beetburger3

The cooked beets get pureed in a blender along with some fried off onions and garlic, the chilli, some vegan worcestershire sauce, and a little tomato puree. Next, they’re mixed with the mashed black beans and some breadcrumbs and formed in to patties. Finally, they’re fried!

These patties are pretty soft, unlike the more “meaty” seitan ones from earlier this month, but they are still lovely!

Beetroot and Black Bean Burgers


Ingredients

  • 1 onion, chopped
  • 2 cloves garlic, chopped
  • 1 red chilli (or more), chopped
  • 450g cooked beetroot
  • 1 tbsp vegan worcestershire sauce
  • 1 tbsp tomato puree
  • 1 tsp smoked paprika
  • 1 can black beans, drained and rinsed
  • 100g breadcrumbs
  • salt + pepper
  • oil for frying

Directions

  1. In a frying pan, fry the onion, garlic, and chilli, until the onion is softened.
  2. Roughly chop the beetroot, and put it in a food processor. Add the cooked onion mixture, the worcestershire sauce, tomato puree, and paprika.
  3. Blend until well chopped.
  4. In a large bowl, mash the black beans – leaving a few whole remaining!
  5. Add the blended beetroot mixture, salt and pepper, and the breadcrumbs, and mix well to form a stiff mixture.
  6. Form into patties, and fry on each side for about 4-5 minutes, until browned.
  7. Serve however you like!

Lentil Ragu – VeganMoFo Day 12

Today’s VeganMoFo prompt asks us about our Dream Holiday Destination. Well, there aren’t many places I wouldn’t want to travel to. I want to see the whole world! Of course, health, money, life…they all get in the way and I can’t, but a girl can dream right?

One place I have always wanted to visit is Italy – Naples would be a great visit, and as a history graduate, I would love to see Rome. So Italy is where I went with for my dish today.

I recently posted about my meal out at Zizzi’s where I had their lentil ragu and this inspired me to make a lentil ragu of my own. Warm and hearty, this dish is great as the nights draw in.

ragu1.jpg

A mixture of dried herbs – basil, oregano, and rosemary – give an Italian taste to this sauce, and a splash of balsamic vinegar provides a sweet, sharp addition.

ragu3.jpg

I use linguine for this but you could use any long pasta – tagliatelle would work great, or even just simple spaghetti!

You may experience variation in the time taken to cook your lentils, I’ve found depending on age and storage and just lentil variety they can take different times, so if you find the sauce dries out before your lentils are cooked just add a splash more water and continue!

Lentil Ragu


Ingredients

  • 1 onion, chopped
  • 3 cloves garlic, chopped
  • 2 carrots, diced
  • 1 tbsp olive oil
  • 1 tsp dried basil
  • 1 tsp dried oregano
  • 1 tsp dried rosemary
  • 50ml balsamic vinegar
  • 125g dried brown lentils, rinsed
  • 1 can chopped tomatoes
  • 500ml vegetable stock
  • 250g linguine (or however much you like to use)
  • Salt + Pepper to season

Directions

  1. In a large saucepan, fry the onion, garlic, and diced carrots in the olive oil until they begin to soften – about 5 minutes.
  2. Add in the herbs and salt and pepper, and pour in the balsamic vinegar.
  3. Let the balsamic vinegar cook off, and then add the lentils, chopped tomatoes, and vegetable stock.
  4. Bring to a boil, cover, lower the heat, and simmer for 50 minutes – or until the lentils are cooked. Stir occasionally.
  5. Meanwhile, cook the pasta to taste.
  6. Once the pasta and lentils are all cooked, drain the pasta and stir it through the ragu.
  7. Serve!

Afghan Biscuits – VeganMoFo Day 8

If you read the title of this post and thought “what on earth are afghan biscuits?” then, me too, reader, me too. Today’s VeganMoFo prompt is “If you dug straight down, where would you come out?” and being from the UK, roughly going straight down would take me to New Zealand, or near enough. Now, you all know I love baking, so I looked up baking recipes that come from New Zealand. One of the ones I came across, which is apparently a New Zealand favourite, was the Afghan Biscuit. A short chocolate biscuit, made with cornflakes, and a walnut on top.

afghan1

Wait, cornflakes? In a biscuit? Well, I’ve had “cornflake cakes” before, but they’ve just been cornflakes mixed with melted chocolate kinda things. Never baked into an actual biscuit. I was really quite hesitant about this food, but decided to try it anyway.

You know, I am so glad I did! Wow, these are good. The cornflakes, that I was so hesitant about? They give an amazing crunch to the biscuit and pair perfectly with the cocoa and the soft icing on top.

afghan2

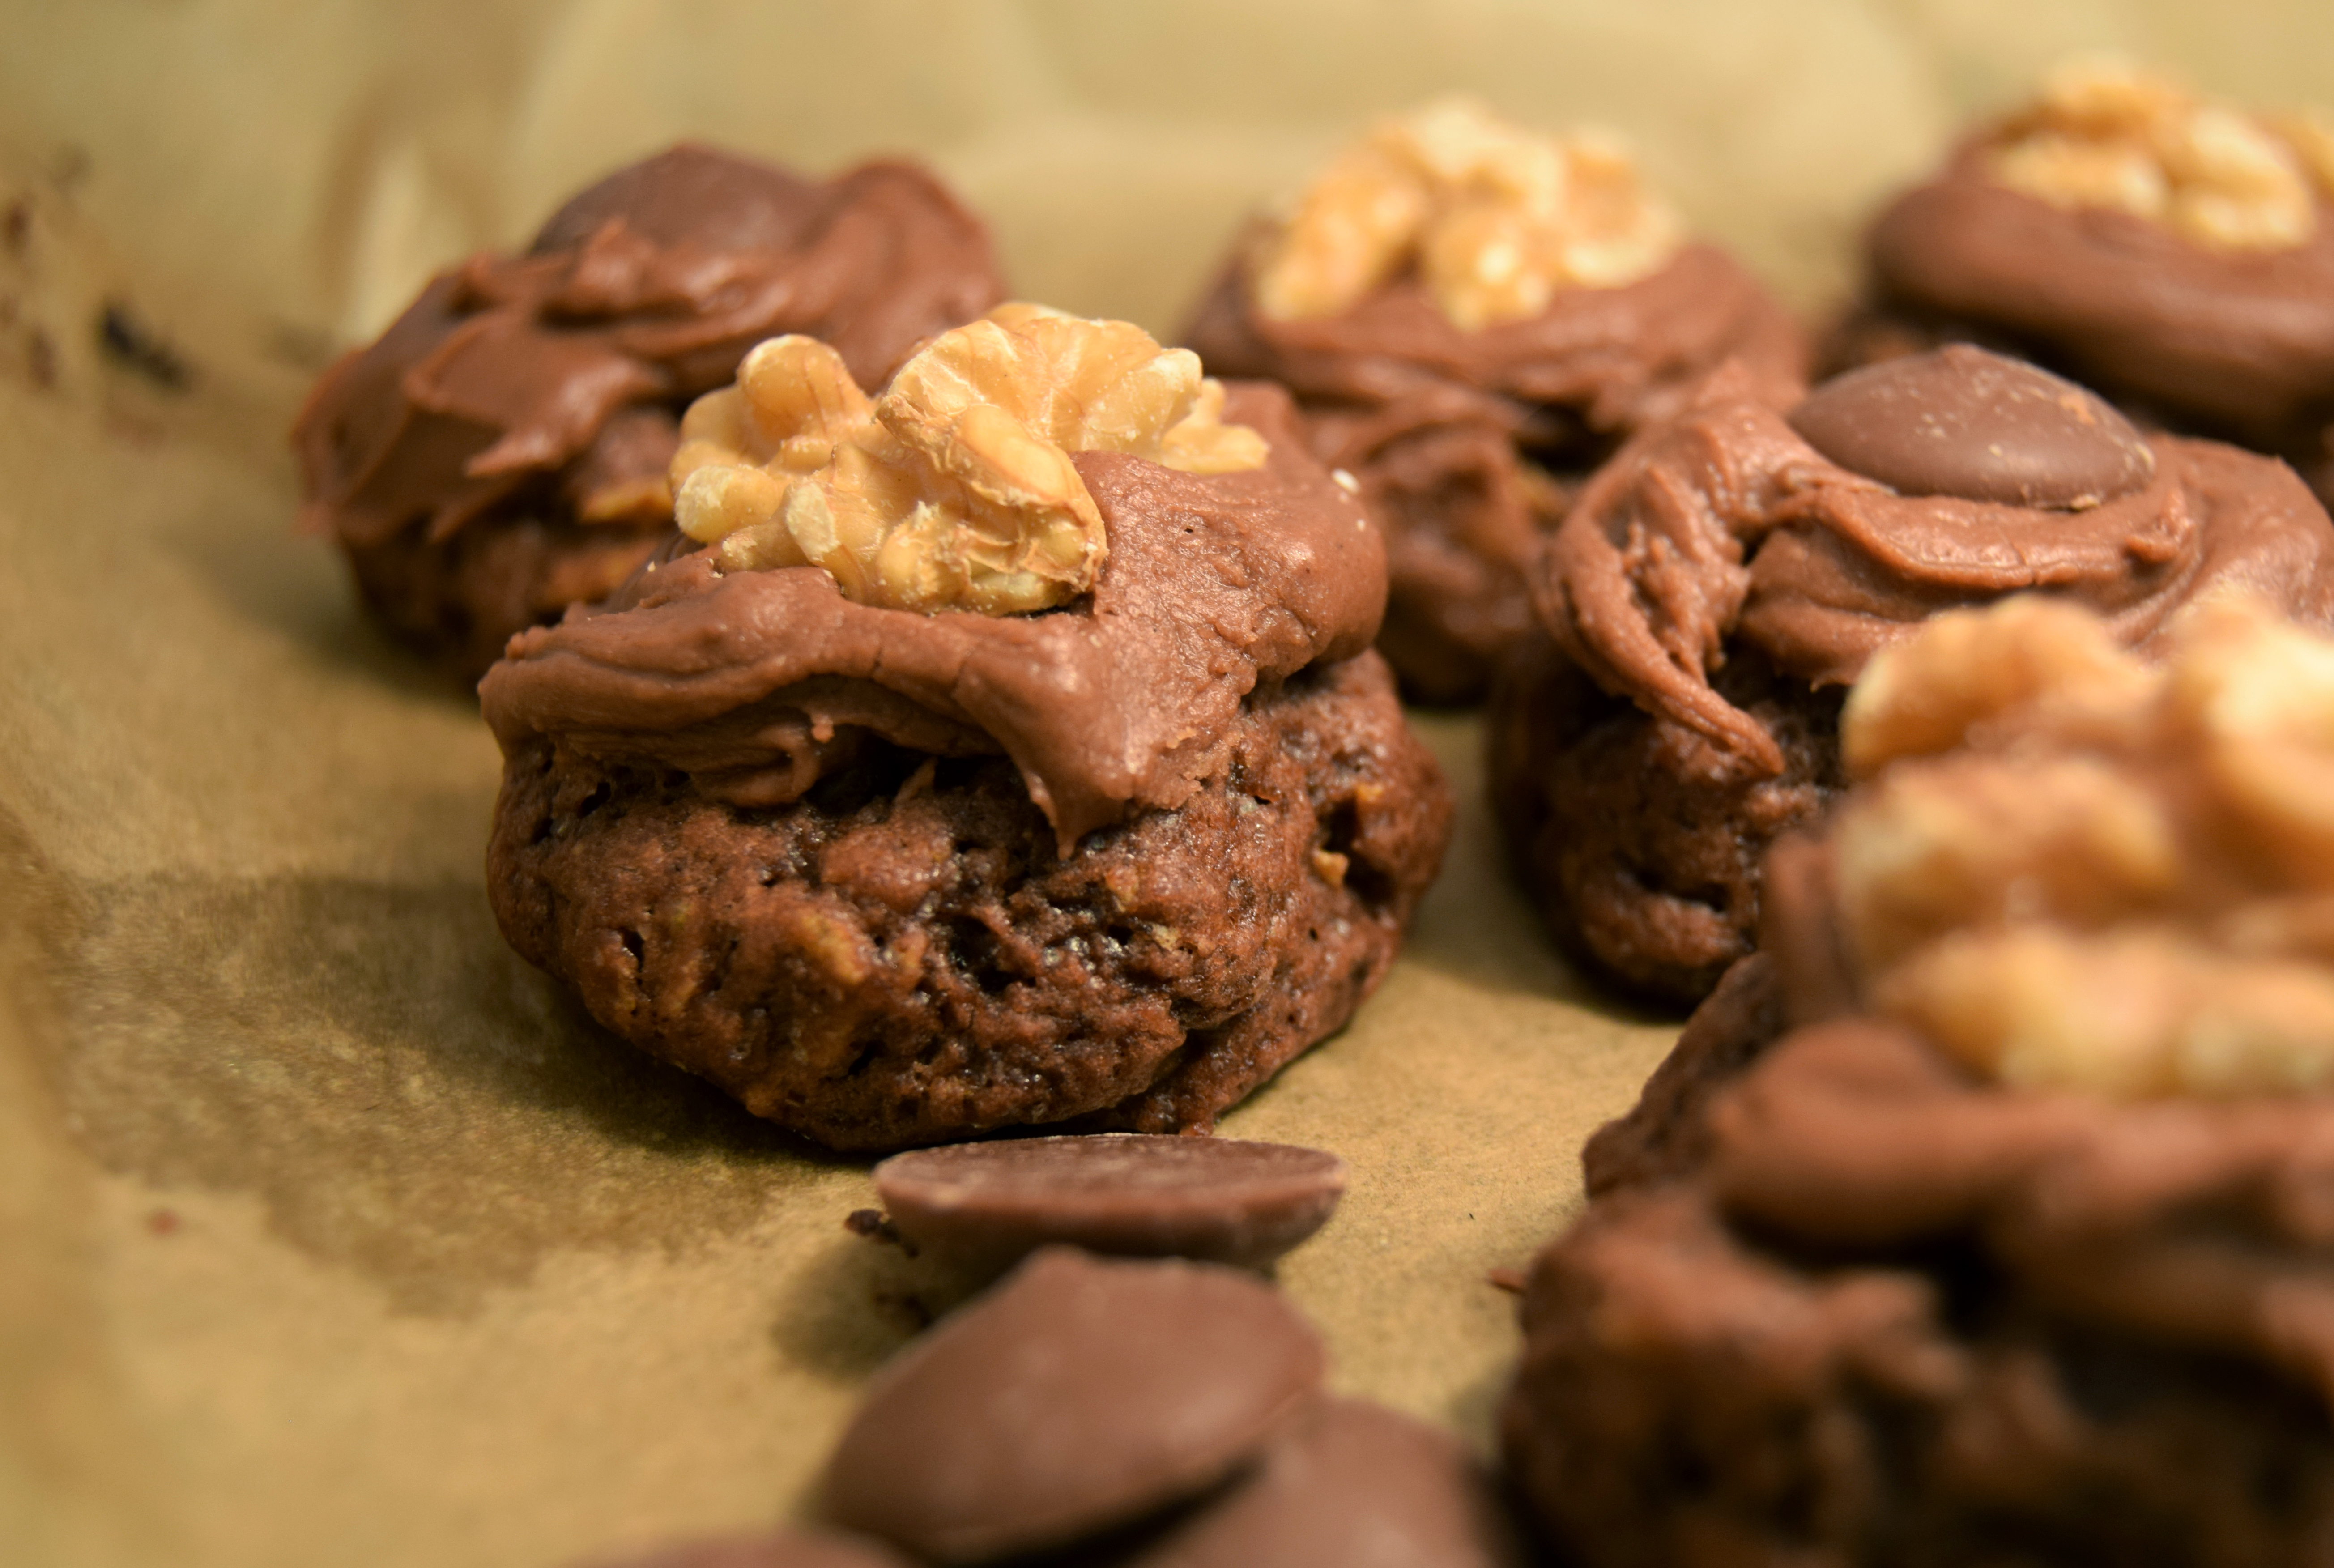
The biscuits traditionally have half a walnut on top, which I did for half of my biscuits, but I know not everyone likes nuts, so I topped the other half with a chocolate button, which was also really tasty!

Afghan Biscuits

  • Servings: 25 biscuits
  • Print

Ingredients

    For the Biscuit
  • 150g vegan butter
  • 110g sugar
  • 1 tsp vanilla extract
  • 160g plain flour
  • 25g cocoa powder
  • 2 tbsp milk of choice
  • 50g cornflakes
  • For the Icing

  • 40g vegan butter, melted
  • 225g icing sugar
  • 15g cocoa powder
  • 1tsp vanilla extract
  • 2tbsp water
  • Walnut halves or chocolate buttons to top

Directions

    Preheat the oven to 180C/355F
  1. Cream together the vegan butter and sugar.
  2. Add in the vanilla and milk, and mix to combine.
  3. Stir through the flour and cocoa until well mixed.
  4. Gently fold through the cornflakes until combined.
  5. Place tablespoon size balls of the biscuit dough on a baking tray, gently flattening with the back of a spoon.
  6. Bake in the preheated oven for 12 minutes, then leave to cool.
  7. Once cooled, make the icing. Combine all the ingredients, except the walnuts and chocolate button, to make a thick but spreadable icing.
  8. Top each biscuit with a spoonful of the icing, followed by either a walnut half or a chocolate button.
  9. Leave to set, then enjoy!

Pizza Sticks – Vegan MoFo Day 1!

It’s that time of year again! Time for 2016’s Vegan Month of Food (“VeganMoFo”). This year comes with a whole new set of weekly themes and prompts and promises to be a great month for vegan food. Check out the website to find out more! 

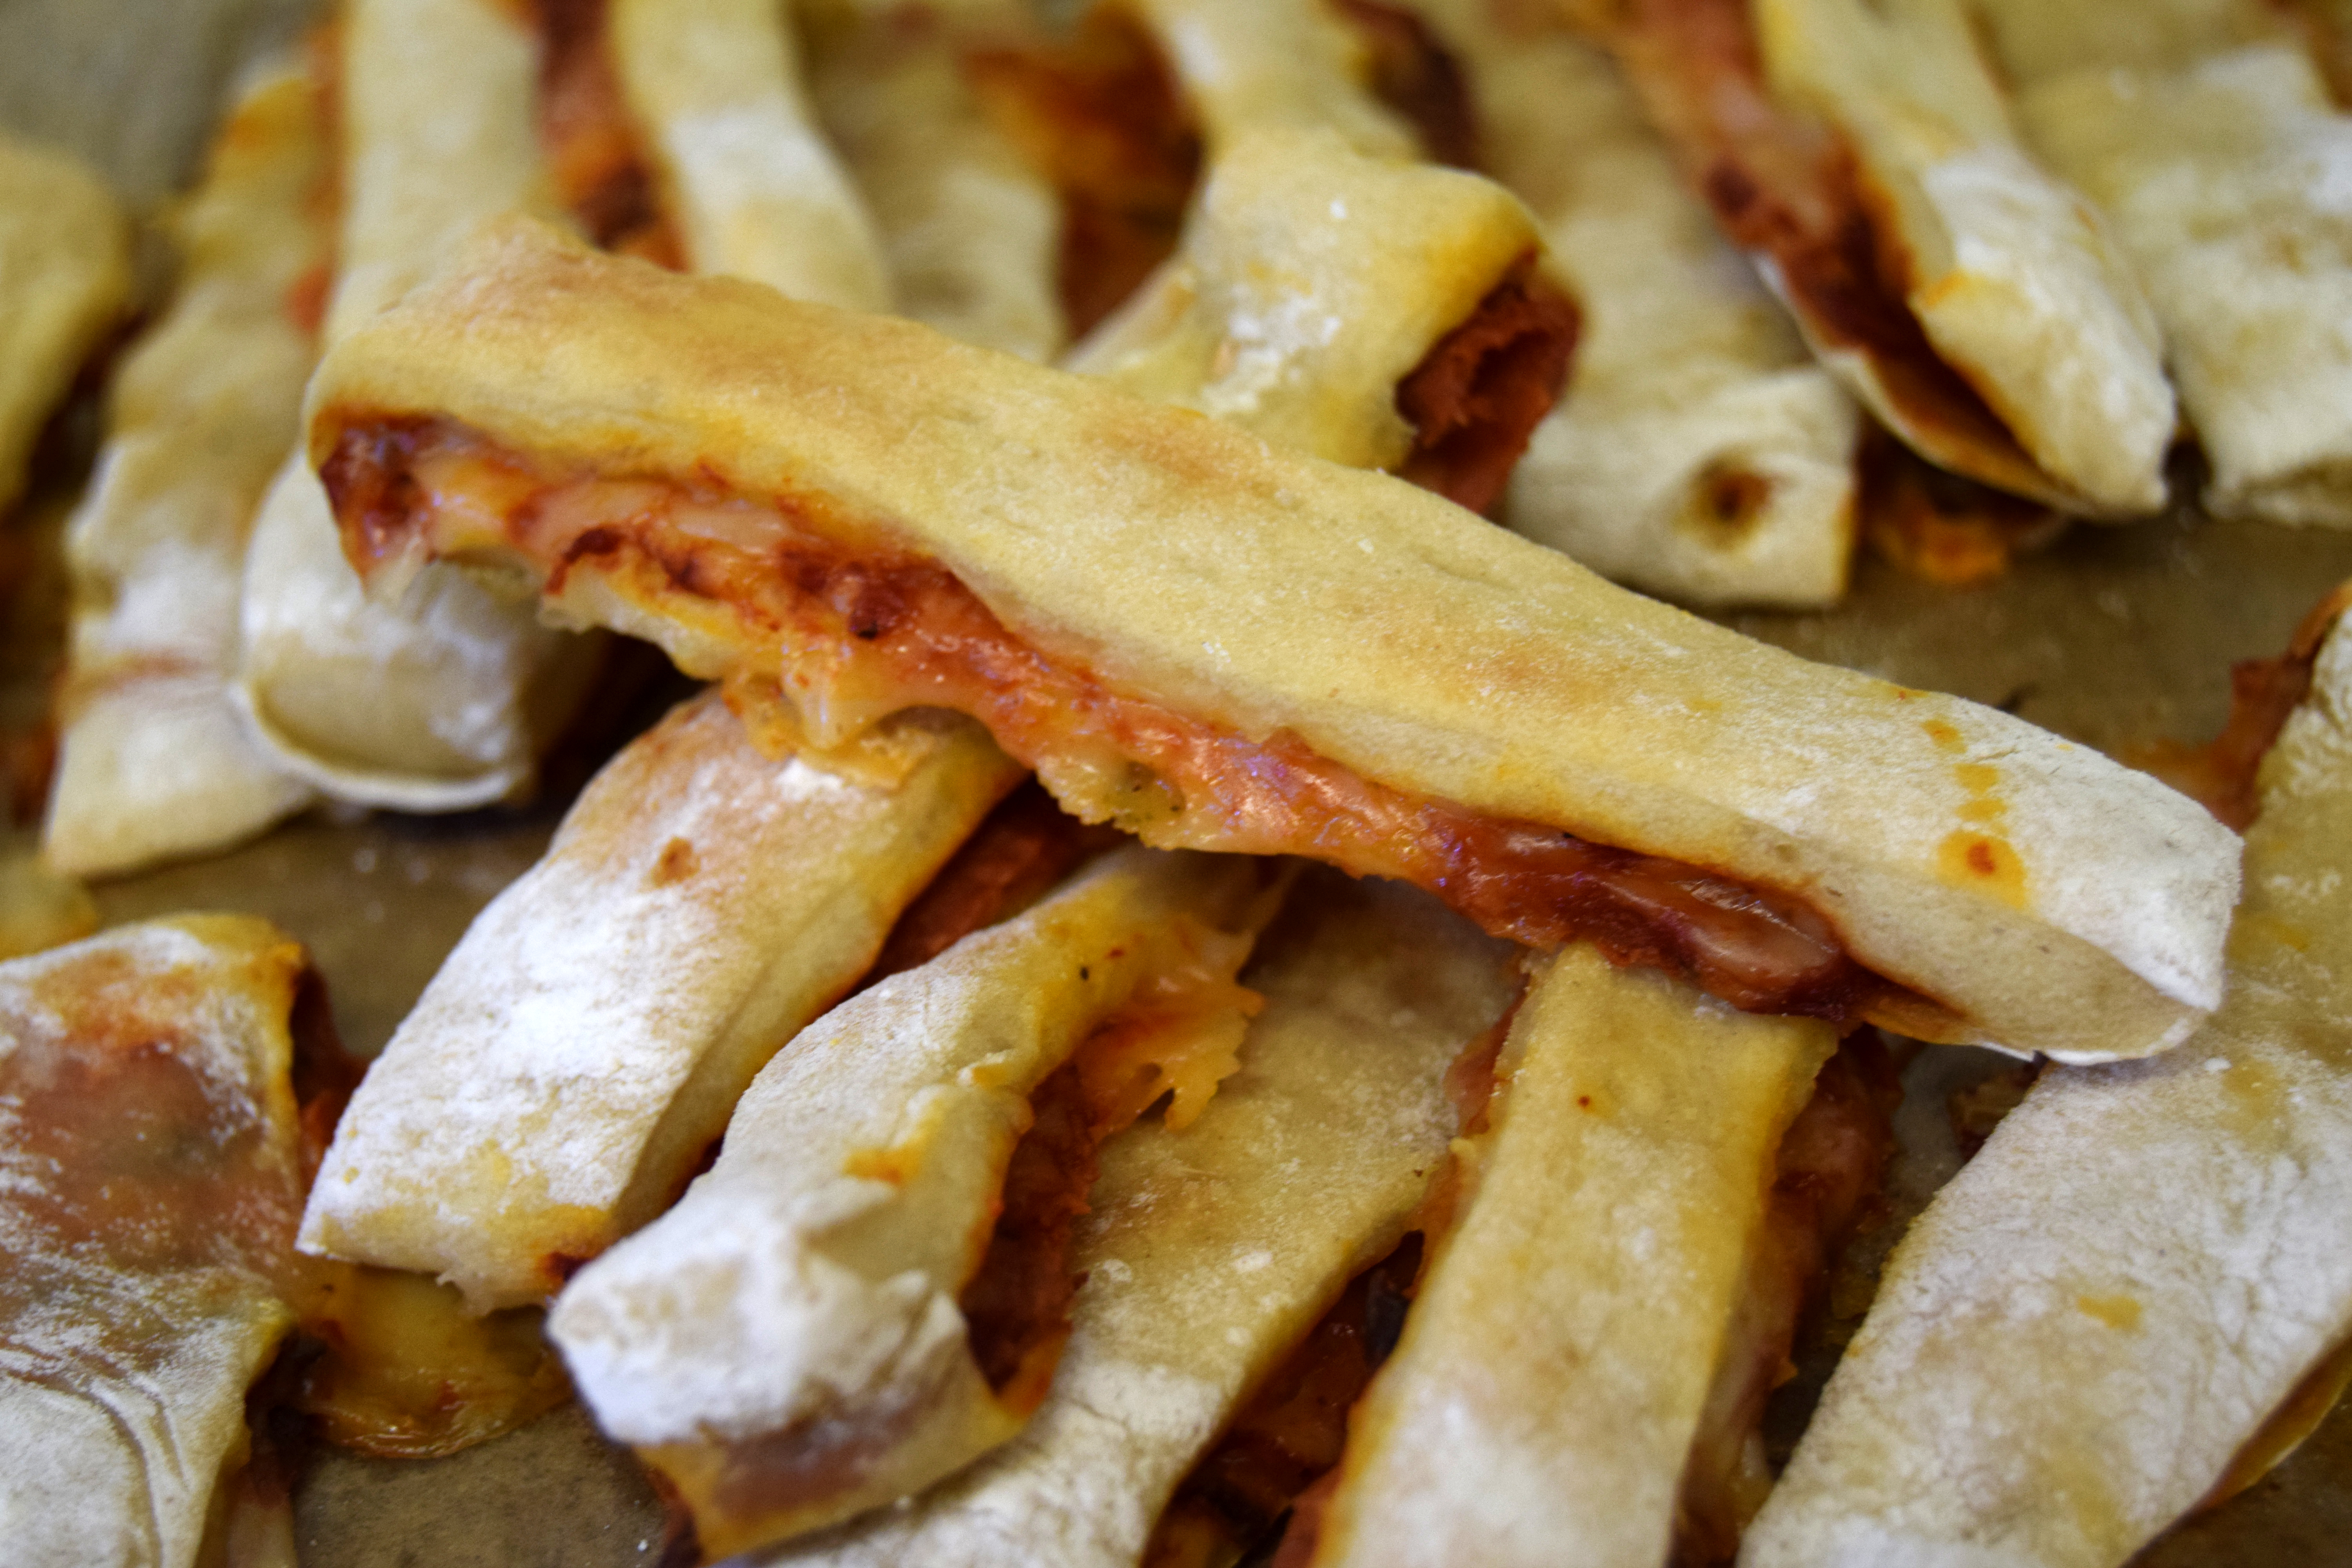
The first weekly theme is “Treat Yourself (and others)” so this week will be all about treats. Today’s daily prompt is “What is your favourite food?“. I had to think long and hard about this because I don’t know if I have a favourite food. I like lots of foods but my “favourite” tends to change depending on what mood I am in. One food that pops up a lot though is pizza. Pizza is pretty versatile – especially if, like me, you treat it as dough with whatever topping you like, from a cheesy feast to a healthy hummus/vegetable topped meal. I already have not one but two pizza recipes on my blog,  do I really need another one though? Yes, of course. This one is slightly different. It’s a recipe for pizza sticks.

pizzasticks1

 Pizza sticks are somewhat a cross between a breadstick and a calzone. They are a little messy to make, yes, but they are a great food for parties, picnics, and just snacks! Have a pot of hummus or your dip of choice and eat away.

They’re not too difficult to make either – and you can fill them with a huge variety of toppings.

Roll out your pizza dough into a rough rectangular shape (oblong if you’re more like me). Top half of it it with tomato sauce (recipe to follow), and your toppings of choice – I used Vbites “Bacon” and Mozzarisella cheese – fold the top half over, squish it down a little with a rolling pin, and slice into sticks about 2cm/3/4 inch thick. Place on a baking tray and bake for 15 minutes or until nice and golden!

pizzasticks3

If you have a good melty cheese then it does ooze out a little but that just adds to the tastiness. Plus, you can totally eat the cheese scraps off the baking tray (not that I did…ahem…).

Pizza Sticks

  • Servings: about 50 sticks
  • Print

Ingredients

    For the Pizza Dough
  • 400g bread flour
  • 1 tsp sugar
  • 1 tsp salt
  • 1 tsp instant yeast
  • 2 tbsp olive oil
  • 250-300ml hand-hot water (water hot enough that you can just stick your little finger in without it being too hot)
  • For the Tomato Sauce

  • 5 tbsp tomato puree
  • 1/2 tsp sugar
  • 1 tsp dried basil
  • 1 tsp cider vinegar
  • salt + pepper
  • Boiling water
  • Toppings of choice eg: Vegan Cheese, Vegan bacon/pepperoni

Directions

  1. First, make the pizza dough. In a large bowl, mix together the flour, sugar, salt and yeast. Stir through the olive oil.
  2. Gradually add the hot water to the flour mix, adding enough to form a dough consistency. Knead the mix for 8 minutes until it forms a stretchy, firm dough.
  3. Cover the bowl, and place aside in a warm area (by the heater, in the airing cupboard etc) to rise for at least 1 hour, until doubled in size.
  4. Once the dough is risen, preheat the oven to 210C/410F.
  5. Next, make the tomato sauce. Combine all the ingredients in a bowl, and slowly add boiling water until the paste becomes a spreadable, sauce-like consistency. Taste and adjust seasoning.
  6. Time to assemble the pizza sticks! Split the dough into four pieces. Roll each dough ball into a rectangle about 5mm thick (a fifth of an inch).
  7. On the bottom half of the rectangle, spread tomato sauce. Top with your toppings of choice.
  8. Fold the top half of the dough rectangle (the bit without any toppings) over the bottom half, and gently roll over it with your rolling pin to seal.
  9. Cut the folded dough into strips about 2cm/a quarter inch wide. Place on a baking tray.
  10. Bake in the oven for 10-15 minutes, until golden brown. Repeat with the remaining dough!

Red Pepper & Thyme Rolls

In the run up to Vegan MoFo 2016, there’s a set of three fortnightly challenges being issued, called “MiniMoFo”. These are optional – but fun – prompts to complete before the big month happens in November! Anyone can take part too, even if they’re not doing Vegan MoFo itself so get over there and join in!

minimofo1

The first challenge is:

What is your signature dish?

So I had to think about this a bit, because I’m not sure if I have a signature dish! Being a fairly adventurous cook, and having a food blog too, I don’t tend to cook the same meals again and again. I like to change things up, and if I make a dish lots of times I’ll tweak it to try and make it even better.

My first thought was maybe my chocolate cake. Everyone loves my chocolate cake! And I’m pretty sure I’ve not blogged about it yet. However…I don’t really have an occasion in this fortnight to make a chocolate cake. We’ve already got a few baked goods in the house and I just can’t fit any more cake in!

So onto the next idea. And something that is always popular when I make it is bread! Now, I may not be a super fancy artisanal bread maker, but I do enjoy baking bread myself. It’s fun, and you can take any frustrations out when you knead it! Plus, you can make a ton of different flavours.

peppers3
This time I decided to make roasted red pepper rolls – or cobs, or baps, or whatever you call them in your dialect! I used peppers from a jar, because it’s so much easier, but if you wanted to roast and peel your own you could. These take a while to make – I do two rises – so start them early, but you can eat them warm!

peppers4

Making bread isn’t as hard or scary as you might think. You need some time (most of it is downtime though!), some patience, and a little bit of strength. Start by mixing all the ingredients except for the water in a big bowl. Then you add the water. The water should be “hand hot” temperature – an easy way to tell if it’s right is to stick your (clean!) little finger in the water. It should feel hot, but not so hot you can’t keep your finger in the water. Like a nice steaming bath. That water goes in with the rest of the ingredients, gets mixed to form a dough, then you have to knead it.

Kneading dough is probably the hardest part of making bread. Unless you have a bread machine or a mixer with a dough hook, in which case lucky you! But most people underknead their dough because it does take some time. My top tip for kneading? Put some music on. It gives you something to do other than think “Am I seriously still kneading this bread?!” and also it provides a good timer. If your songs are average length – about 4 minutes – knead your dough for two songs. No less. You can knead a little longer if you get caught up in the music, you’re unlikely to knead too much by hand.

Then, the bread goes off to rise. Put it in a warm place – I use the airing cupboard, but you could use a sunny spot, or next to the radiator, somewhere nice and warm anyway. Leave it until it’s doubled in size – an hour to an hour and a half, depending how warm your place is. Punch it down, it’ll deflate a lot, and then form it into your bread rolls.

peppers5

This recipe makes eight rolls so it’s easy – split in half, then in half again, then once more. Roll them into, well, rolls, and put them on a baking tray. See the picture above! Then, you cover them with a piece of oiled clingfilm. Oiled is important here – just brush some olive oil over the film before you put it over the rolls. If you don’t oil it, you’ll get the film just sticking to the bread, and when you pull it off you’ll ruin your nice roll shapes.

Anyway, back to rise the rolls go. You need to leave them to rise for another hour now. But partway through the rise, preheat your oven to 210C – or 410F. If your oven is anything like mine it’ll take forever to heat to that temperature. After the hour is up, take the film off the rolls, sprinkle with a little salt, and bake in the oven – for about 15-20 minutes, until nice and golden. Turn one upside down and tap the bottom – if it sounds hollow, it’s cooked!

Leave to cool for five minutes or so before you tuck in!

Roasted Red Pepper & Thyme Rolls


Ingredients

  • 550g bread flour
  • 1 tsp sugar
  • 1 tsp yeast (I use the fast-action stuff)
  • 1 tsp salt
  • 1 tsp dried thyme
  • 3 tbsp olive oil (plus extra for brushing)
  • 200g roasted red pepper, diced finely
  • 200ml “hand hot” water

Directions

  1. In a large bowl, mix together the dry ingredients (flour, sugar, yeast, salt & thyme).
  2. Stir through the olive oil and diced peppers until well mixed, and then make a well in the centre of the mix.
  3. Pour in the water gradually until you get a sticky dough.
  4. Knead the dough on a lightly floured surface for 8 minutes, until it forms a stretchy ball.
  5. Put the dough ball back in the bowl, cover, and leave to rise in a warm place for an hour, or until doubled in size.
  6. Once the dough has risen, punch it down again, and form into 8 rolls. Place these on a baking sheet.
  7. Cover the rolls with oiled cling film, and place again in a warm place to rise for one hour.
  8. Preheat your oven to 210C/410F.
  9. Remove the film from the rolls, sprinkle with a little salt, and place in the preheated oven.
  10. Bake for 15-20 minutes, until golden brown, and hollow-sounding when tapped on the bottom.
  11. Remove from the oven and leave to cool!