Hello! Today’s post is just going to be a quick one because it’s not really a recipe – just a simple step-by-step guide I made on my phone today!
Something vegans can often miss is chocolate bars. Whilst you can buy imitations of popular non-vegan treats (Go-Max-Go bars are great!) they tend to be a lot more expensive than their non-vegan counterparts and that’s just no fun. So, I’ve come up with a quick little tutorial for making a cheap and easy vegan counterpart to an old favourite – the Kit Kat! This also ties in as a (second) post for VeganMoFo’s January “Something New” prompt.
The hardest part of this recipe probably will be finding the wafers to go in the middle. Unfortunately I can only speak for my UK vegans, but in Home Bargains stores around the country, they have had vegan chocolate wafer packs for sale for the last couple of months – at a bargain price of 39p a pack!

Please excuse my chocolatey fingers in the above photo. These are the wafers you want to buy. I’m not sure where else you can get them, but if you are near a Home Bargains pick up several packets because they’re lovely!
Now, let’s start to make our chocolate bars!

Step 1: Break the wafers into individual bars. Do this over a plate because they can crumble a little.

Step 2: Melt some chocolate. I use Lidl Dark Chocolate – it’s only 30p for a 100g bar and is vegan and tasty! Use 3 bars for 1 pack of wafers. Break them up and put them in a bowl, then put that in the microwave for 30 seconds at a time, stirring afterwards, and repeating till it’s all melted. Drop in a wafer biscuit.

Step 3: Turn the wafer around gently in the chocolate with a fork until all the sides are covered. Lift it out of the bowl on the fork, and hold for a few seconds to allow excess chocolate to drip off. Place on a tray lined with non-stick baking paper.

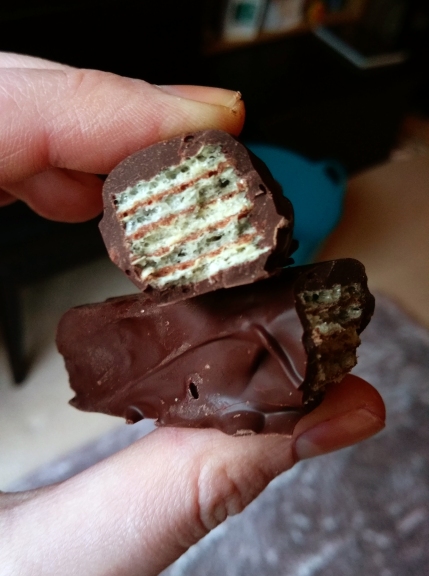
Step 4: Place in the fridge until fully set! Leave it a couple of hours, then check to see if they’re set. Store in the fridge until you want to eat them.
I hope you enjoyed this small post! I apologise for the phone photos, but since this is such a quick and simple thing to make, the photos match!